SUSPENSION
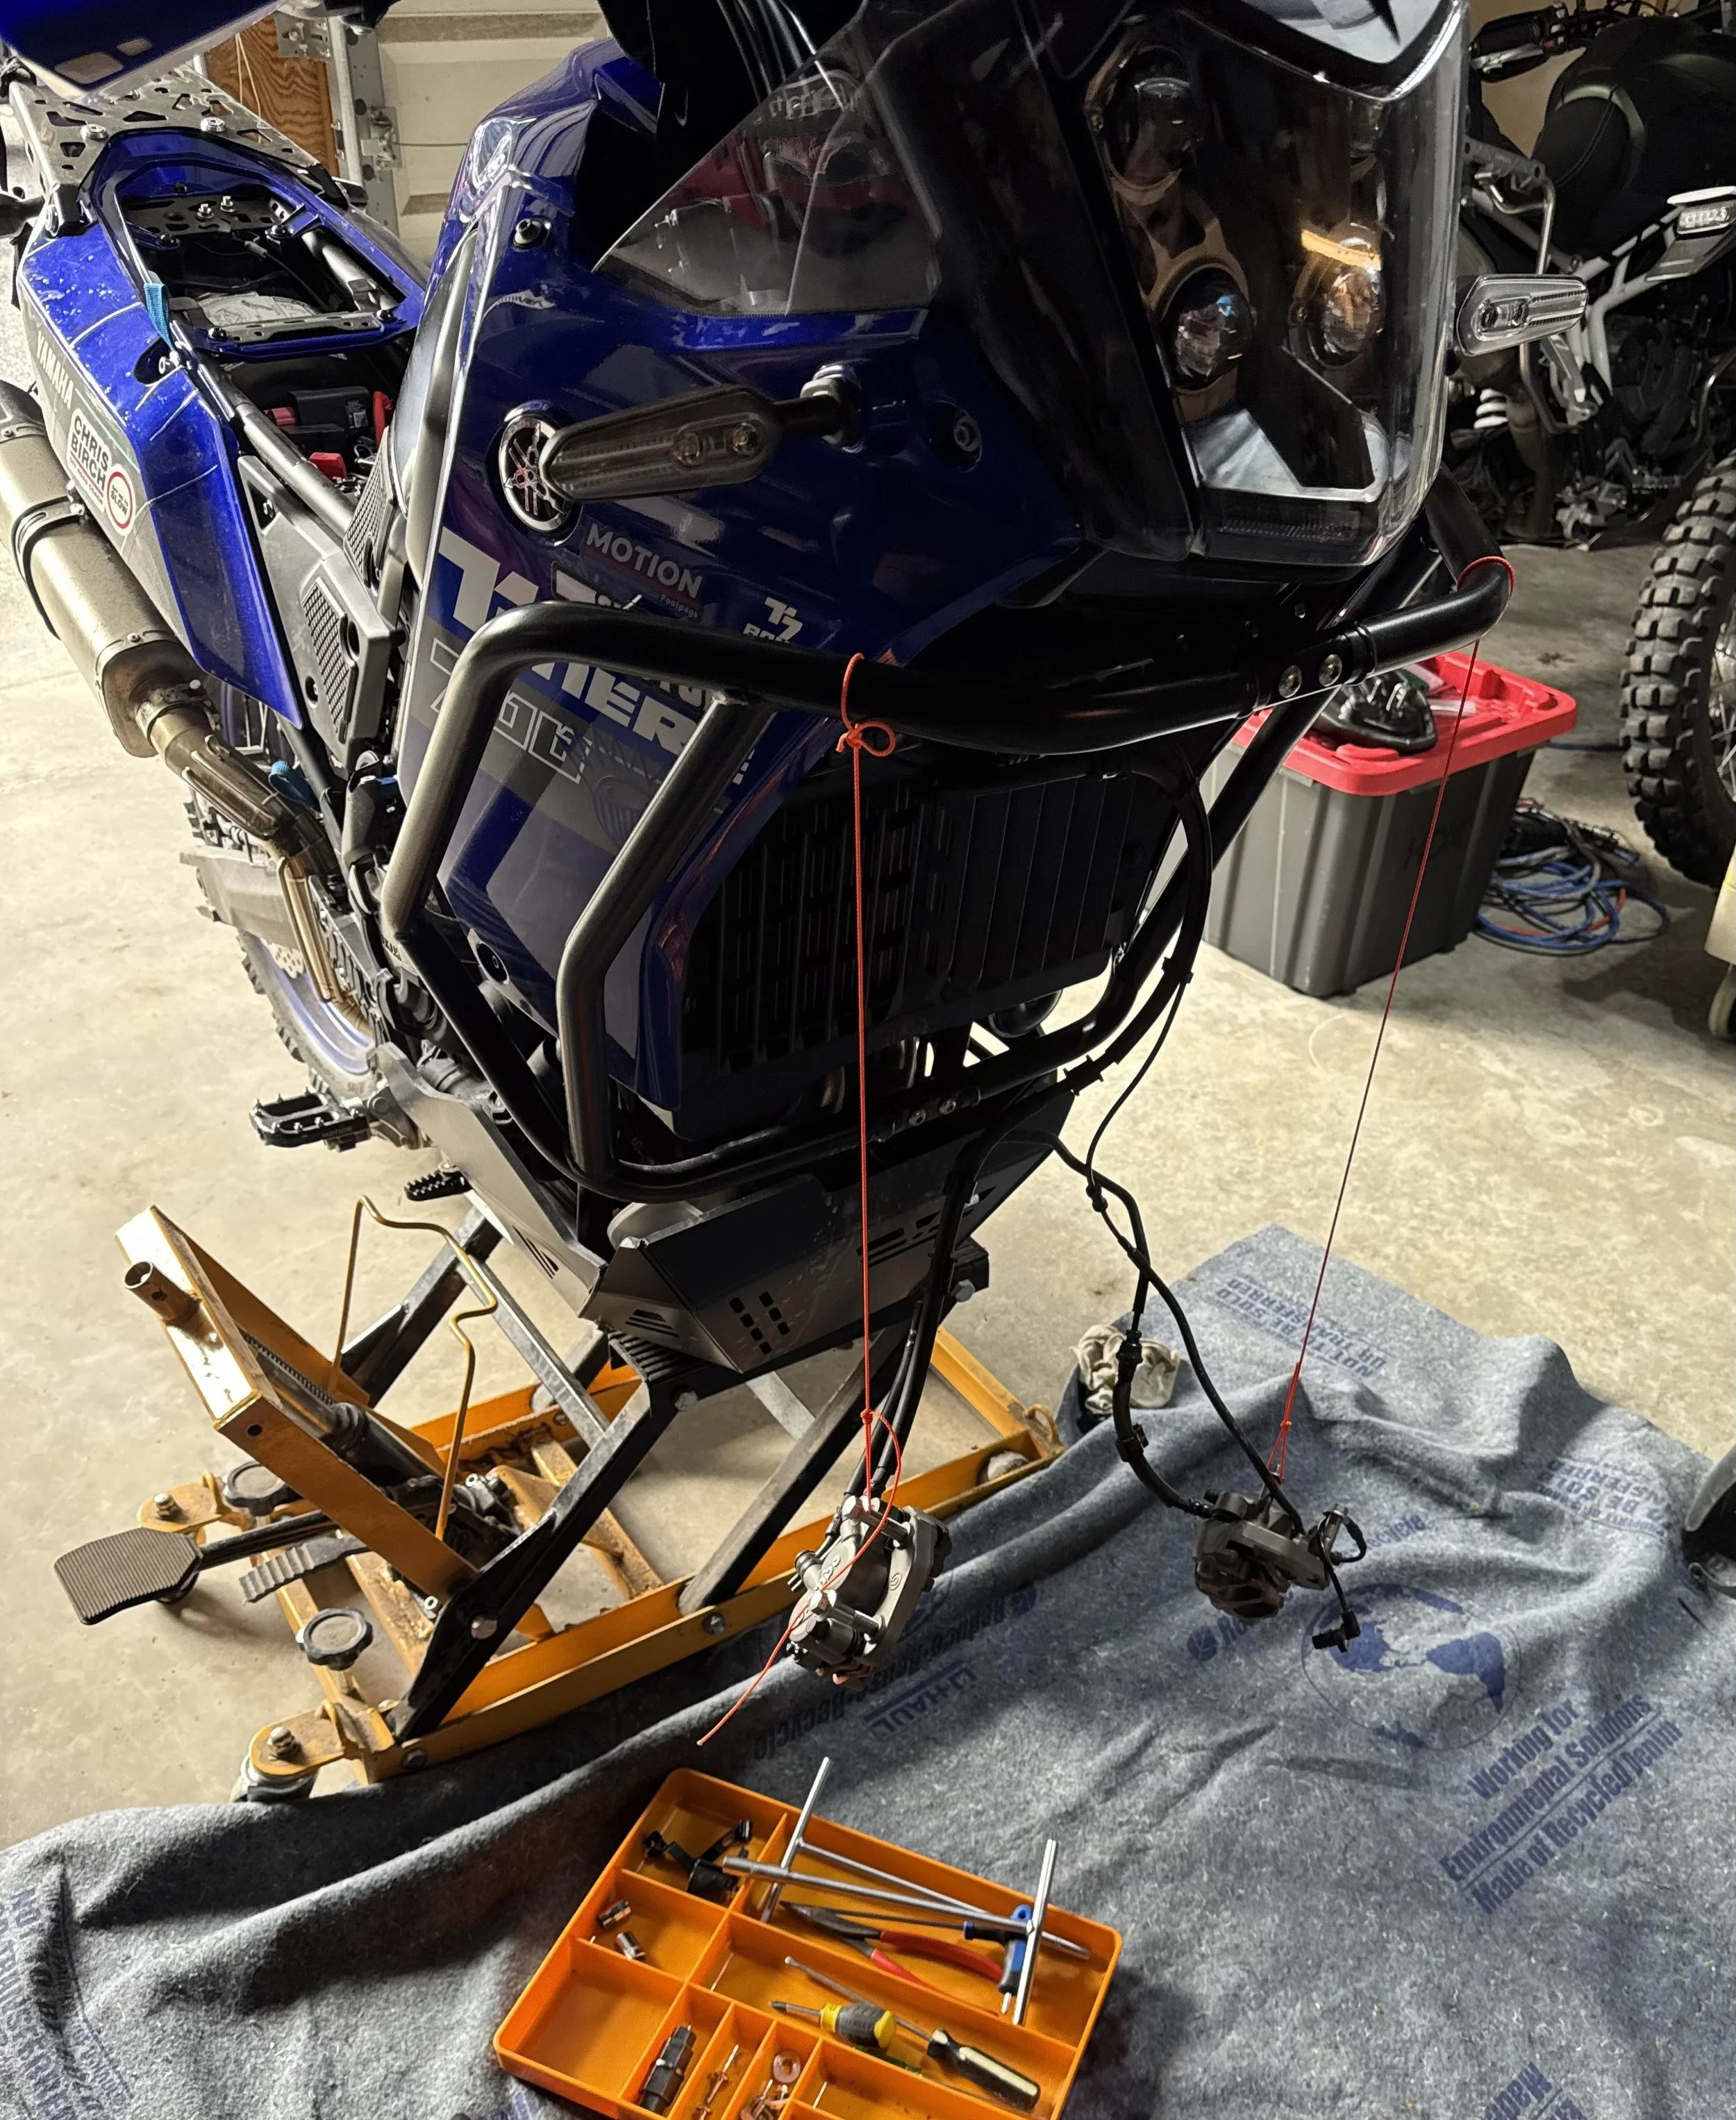
TOP SECRET SUSPENSION SETTINGS T7
uneven terrain = SOFT
even terrain = STIFF
Suspension is not “set it and forget it”. It’s just as alive as the terrain you are riding. It takes time to understand how suspension works, but it is worth it.
The goal of this post is to get you to start tinkering and figuring out what works for you.
You can’t really break anything, and you can easily get back to your previous setting—no harm, no foul. Get over the fear and make your motorcycle ride better.
Modern motorcycles and modern suspension are designed to make changes on the fly; some are literally a button push away. For most, it will require a small flathead screwdriver, a hand crank, and maybe a wrench.
Almost all suspension is adjustable. Most have an audible click to mark the adjustment point. The number of adjustment points/clicks will vary, but the concept is the same.
When you read the manual and it says “14 clicks comp,” that means 14 clicks out from the starting position of 0, with 0 being the stiffest setting available.
Let’s say you want to experiment and set your front shocks to the manual recommendations of 14 clicks out on compression. This is what you do.
Take your bike to a quiet place—no music, no loud noises. You need to hear and feel the clicks as you make adjustments.
Start moving your clickers clockwise and count the number of clicks until you reach a point where the resistance changes and it's not easy to turn anymore. DO NOT force it; that is the 0 point, you are at the stiffest setting your suspension allows.
Note the number of clicks it took to get to 0; that was your previous setting (17, for example).
Now that you are at 0, you can set it to the manual recommendation of 14 out. This time, counterclockwise 14 clicks out. Test it out and see what you think.
If you hate it and want to get back to the original setting, go another 3 clicks out—it turns out you like the suspension a little softer.
It’s that easy. No fear, no problem. Now you can experiment.
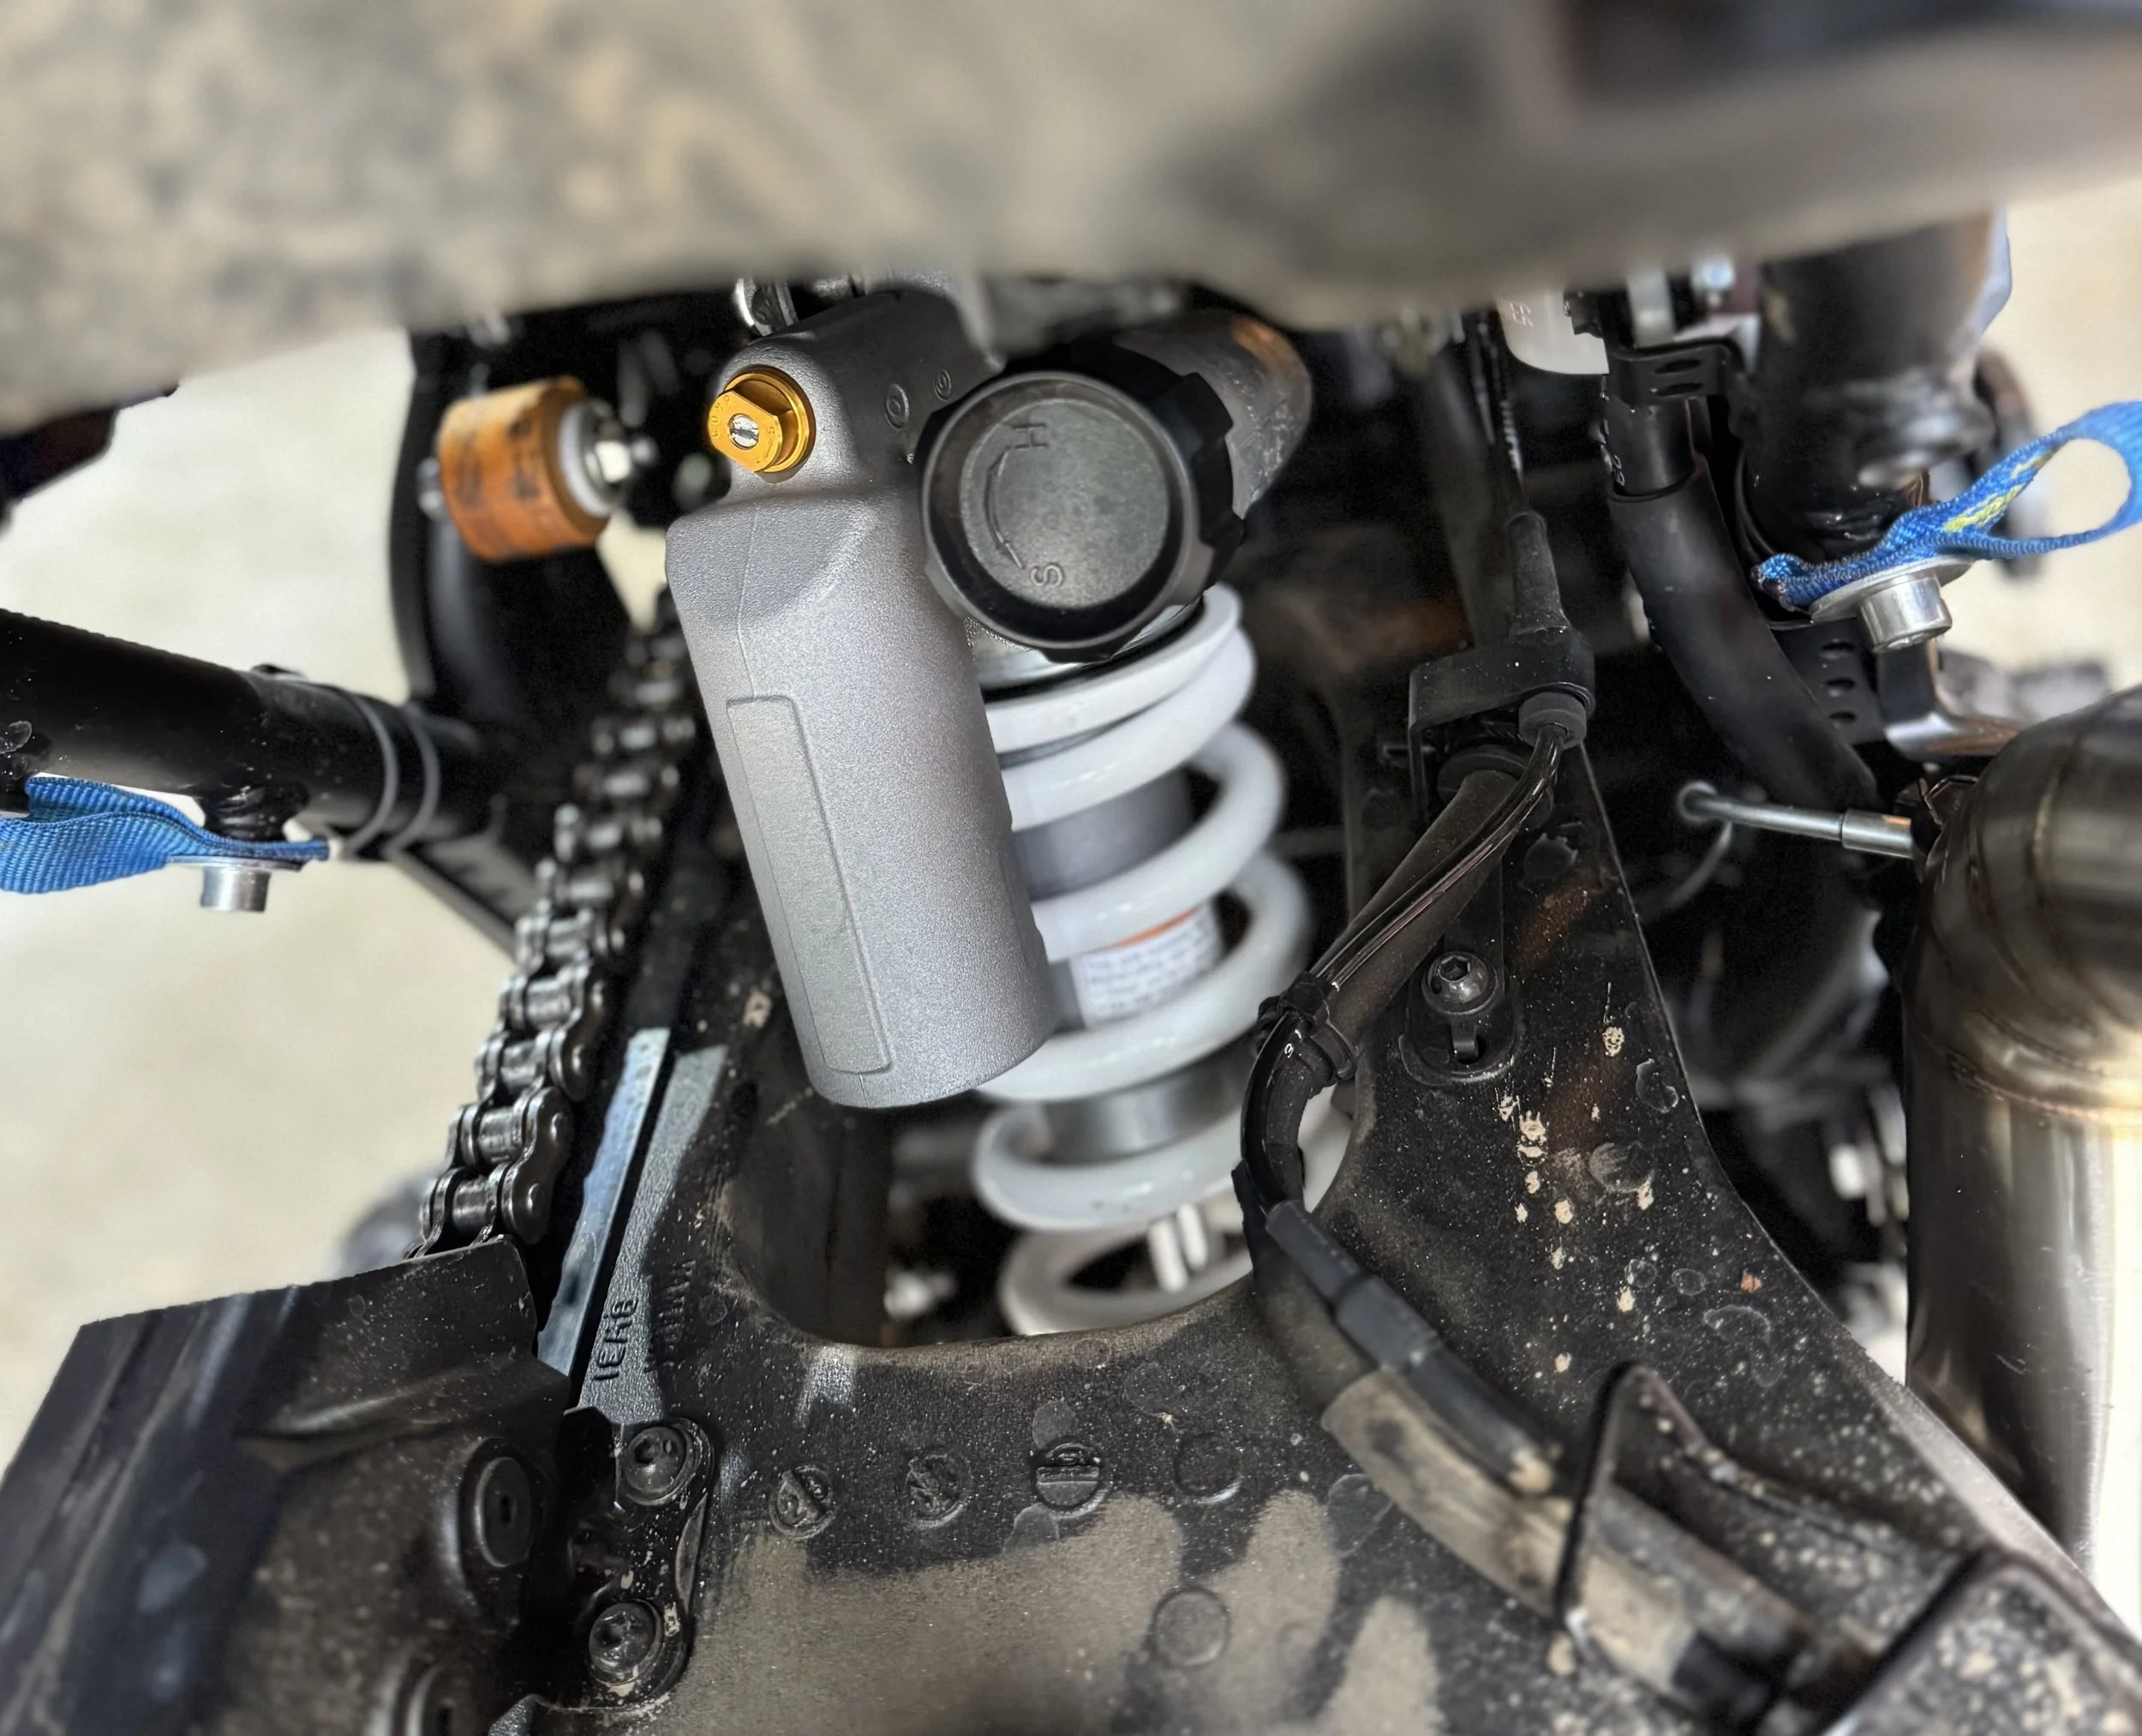
Now that you have the basic mechanics of adjusting suspension, let’s get a little deeper and clarify a few things.
Compression adjustment = fast it reacts when it hits an object.
Example A: 5 clicks out = Slow compression, stiffer, less sensitive. You hit an obstacle and feel it more.
Example B: 20 clicks out = Fast compression, softer, more sensitive. You hit an obstacle and the shocks absorb most of the hit; you do not feel it as much.
Rebound adjustment = How fast it returns after being compressed.
Example A: 5 clicks out = Slow rebound, less sensitive. You hit an obstacle and the shocks take longer to extend back down.
Example B: 20 clicks out = Faster rebound, more sensitive. You hit an obstacle and the shocks return quickly.
It can get a little confusing with faster, slower, softer, harder. For now, think of the suspension clicker adjustments as more sensitive and less sensitive. The closer to the 0 point on the clicks, the less sensitive it becomes.
I highly encourage everyone to read manuals and listen to the professionals on all topics, but sometimes you just need to hear the same information in a different manner. Hopefully my version resonates.
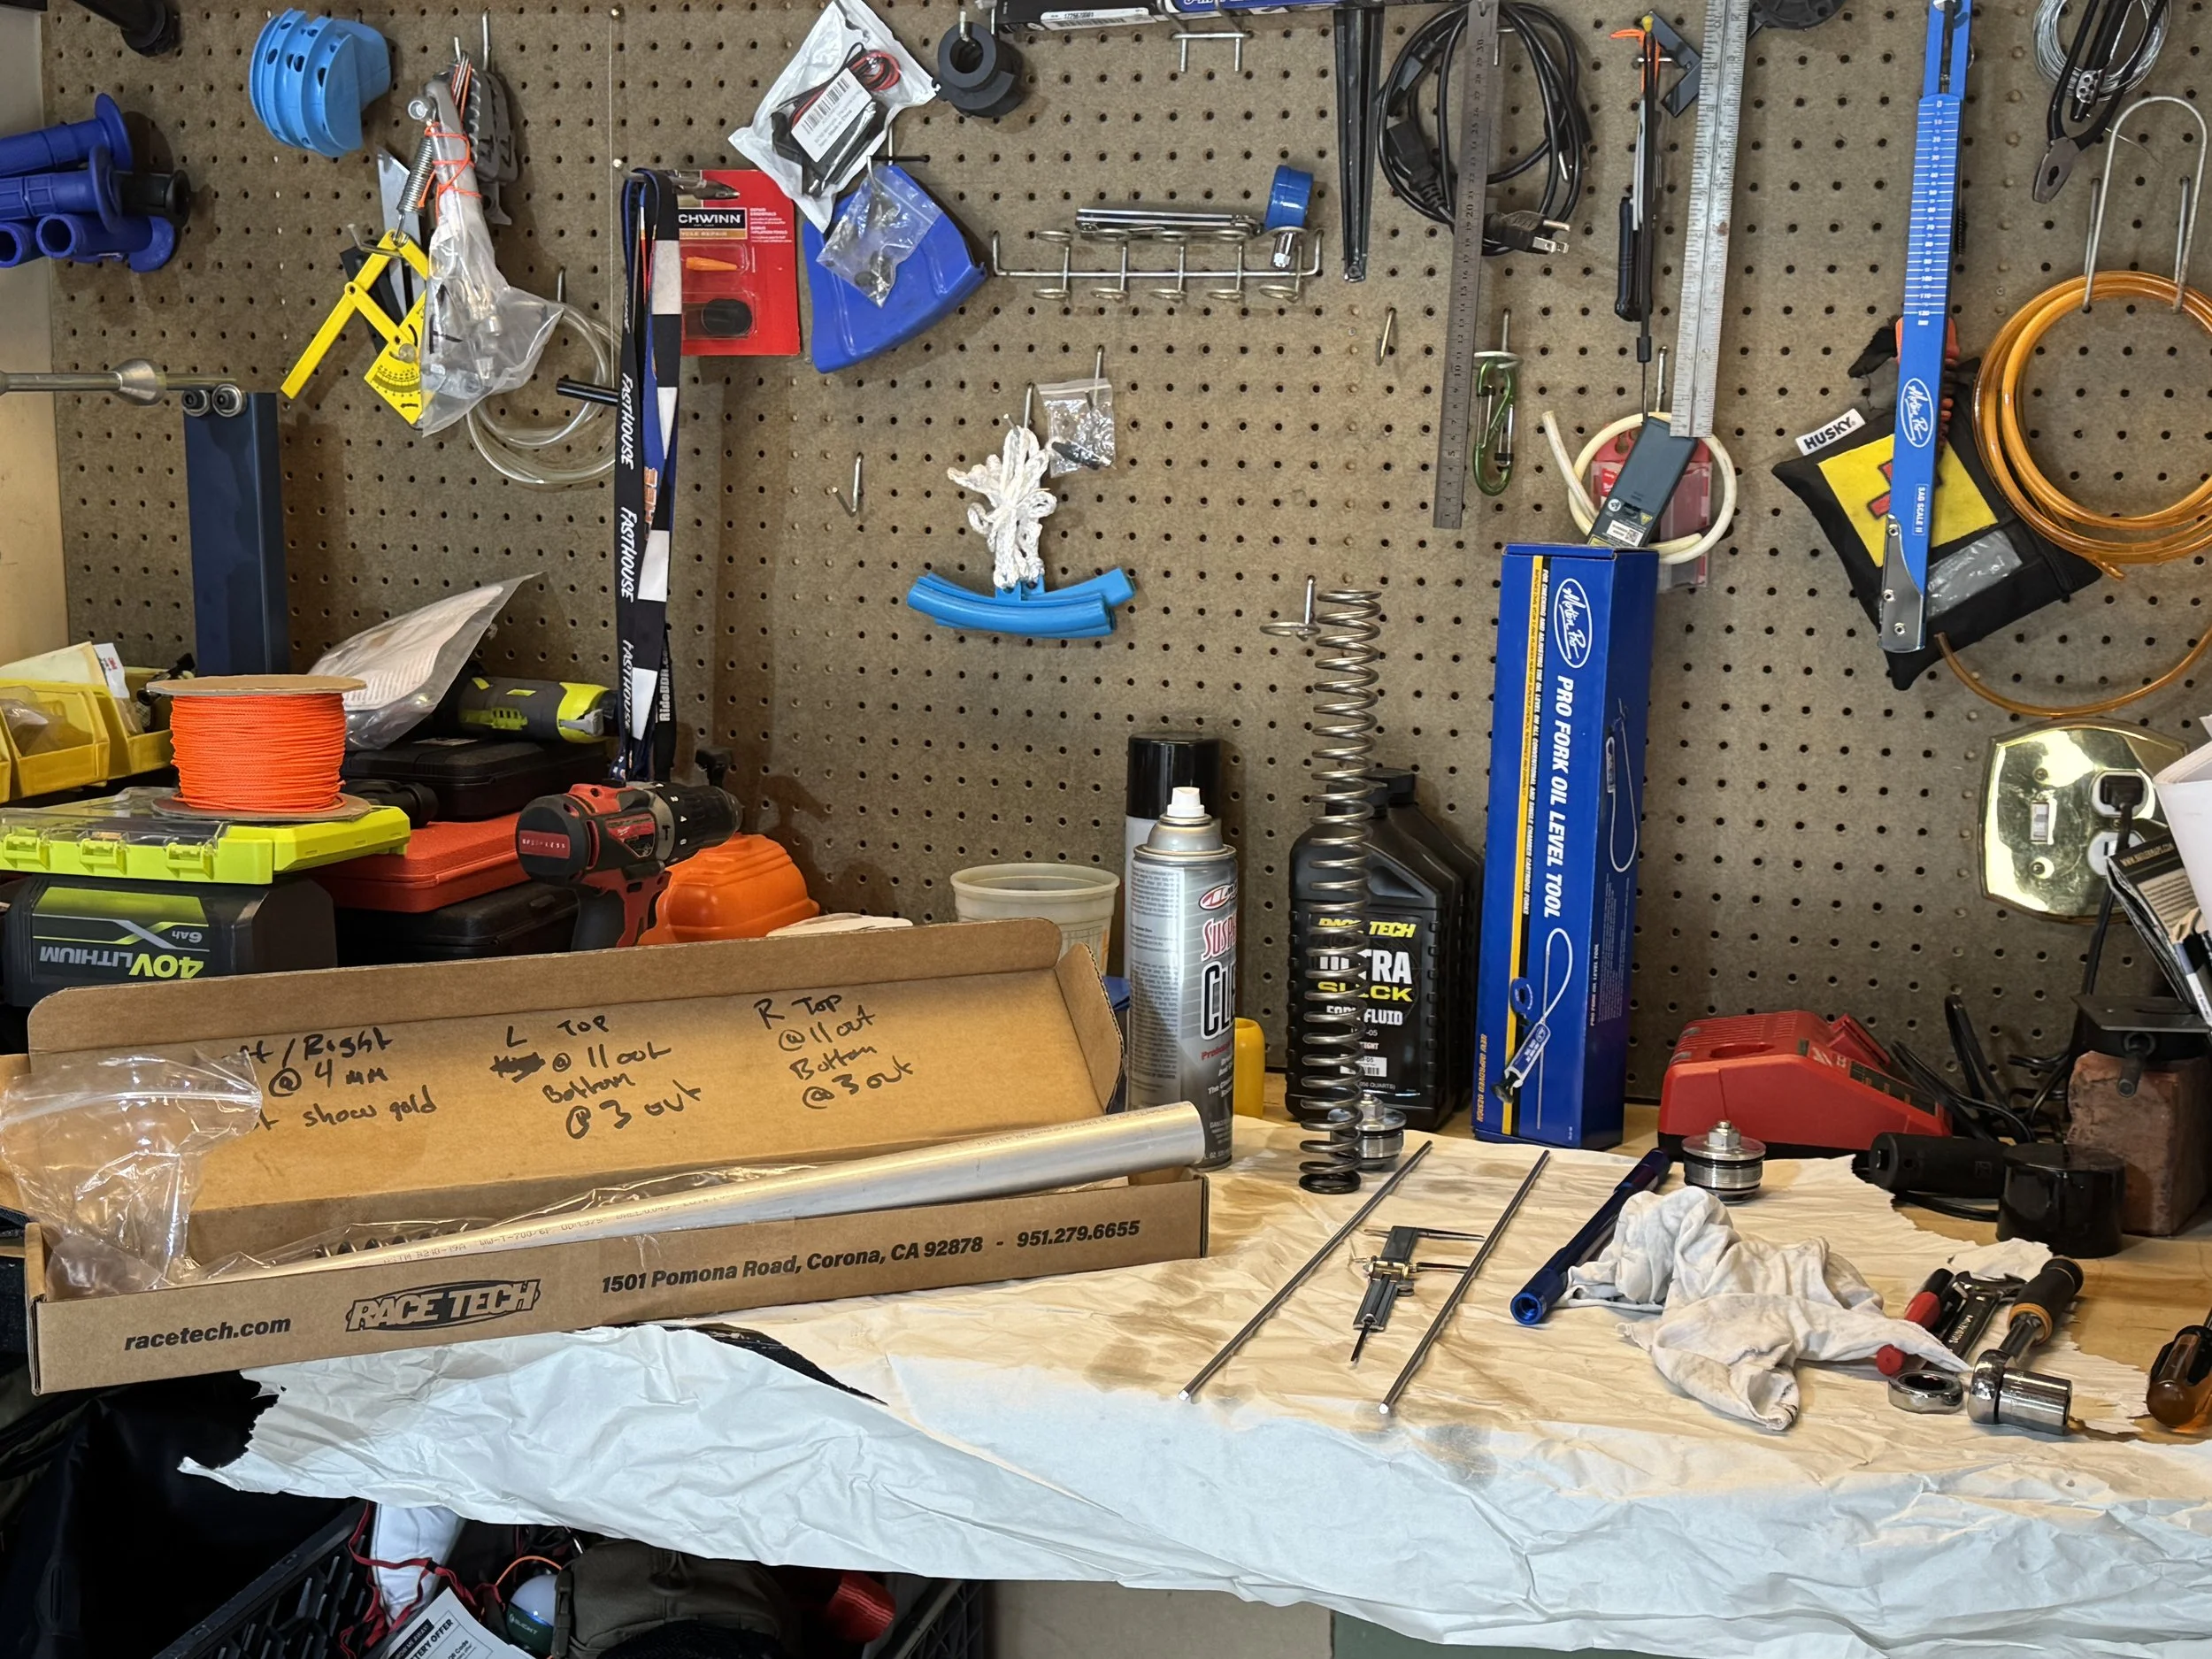
Compression is a good place to start.
I’m cruising along on a groomed trail and come up to a rocky hill climb. I stop my bike and adjust my clickers (front and back) depending on how gnarly it looks. I make the suspension more sensitive, or soften it up (counterclockwise) maybe 10 clicks out. I want the shocks to absorb most of the hits.
This takes about 1 minute, and it makes a big difference.
My body can stay in the proper riding position vs being tossed around by the rocks and hits.
When I get back to the cruising section, I set it back to my previous setting (clockwise).
At higher speeds on flatter terrain, I don’t need the suspension working so hard. I also don’t want it to feel like a pogo stick if I hit a small jump.
Stiffer suspension works better in this faster, smoother terrain.
It also helps the tires dig in a little more around corners. I don’t want the front end to wash out.
The sun is going down and we’re done with off-road for the day; it’s pavement for the next 60 miles to the gas station. Before I take off, I take another minute and I tighten up the suspension all around even more, maybe another 7 clicks clockwise; I am now close to 0, the least sensitive setting.
Knobby tires on a hard flat surface like pavement feel very unstable at high speeds. I set the suspension very stiff to help with stability.
Rebound is a little trickier; mainly because it’s harder to notice small changes. I tend to adjust rebound in conjunction with compression, but in smaller adjustments. (10 click out on compression, 5 clicks out on rebound)
You normally want the tire planted on the ground, so the only downside I see from a very sensitive/fast rebound, would be if it starts to cause the front end to bounce.
Maybe on a long-rocky-fast section, you wouldn’t want the front end to be oversensitive and bouncy.
I am still working on fully understanding this one.
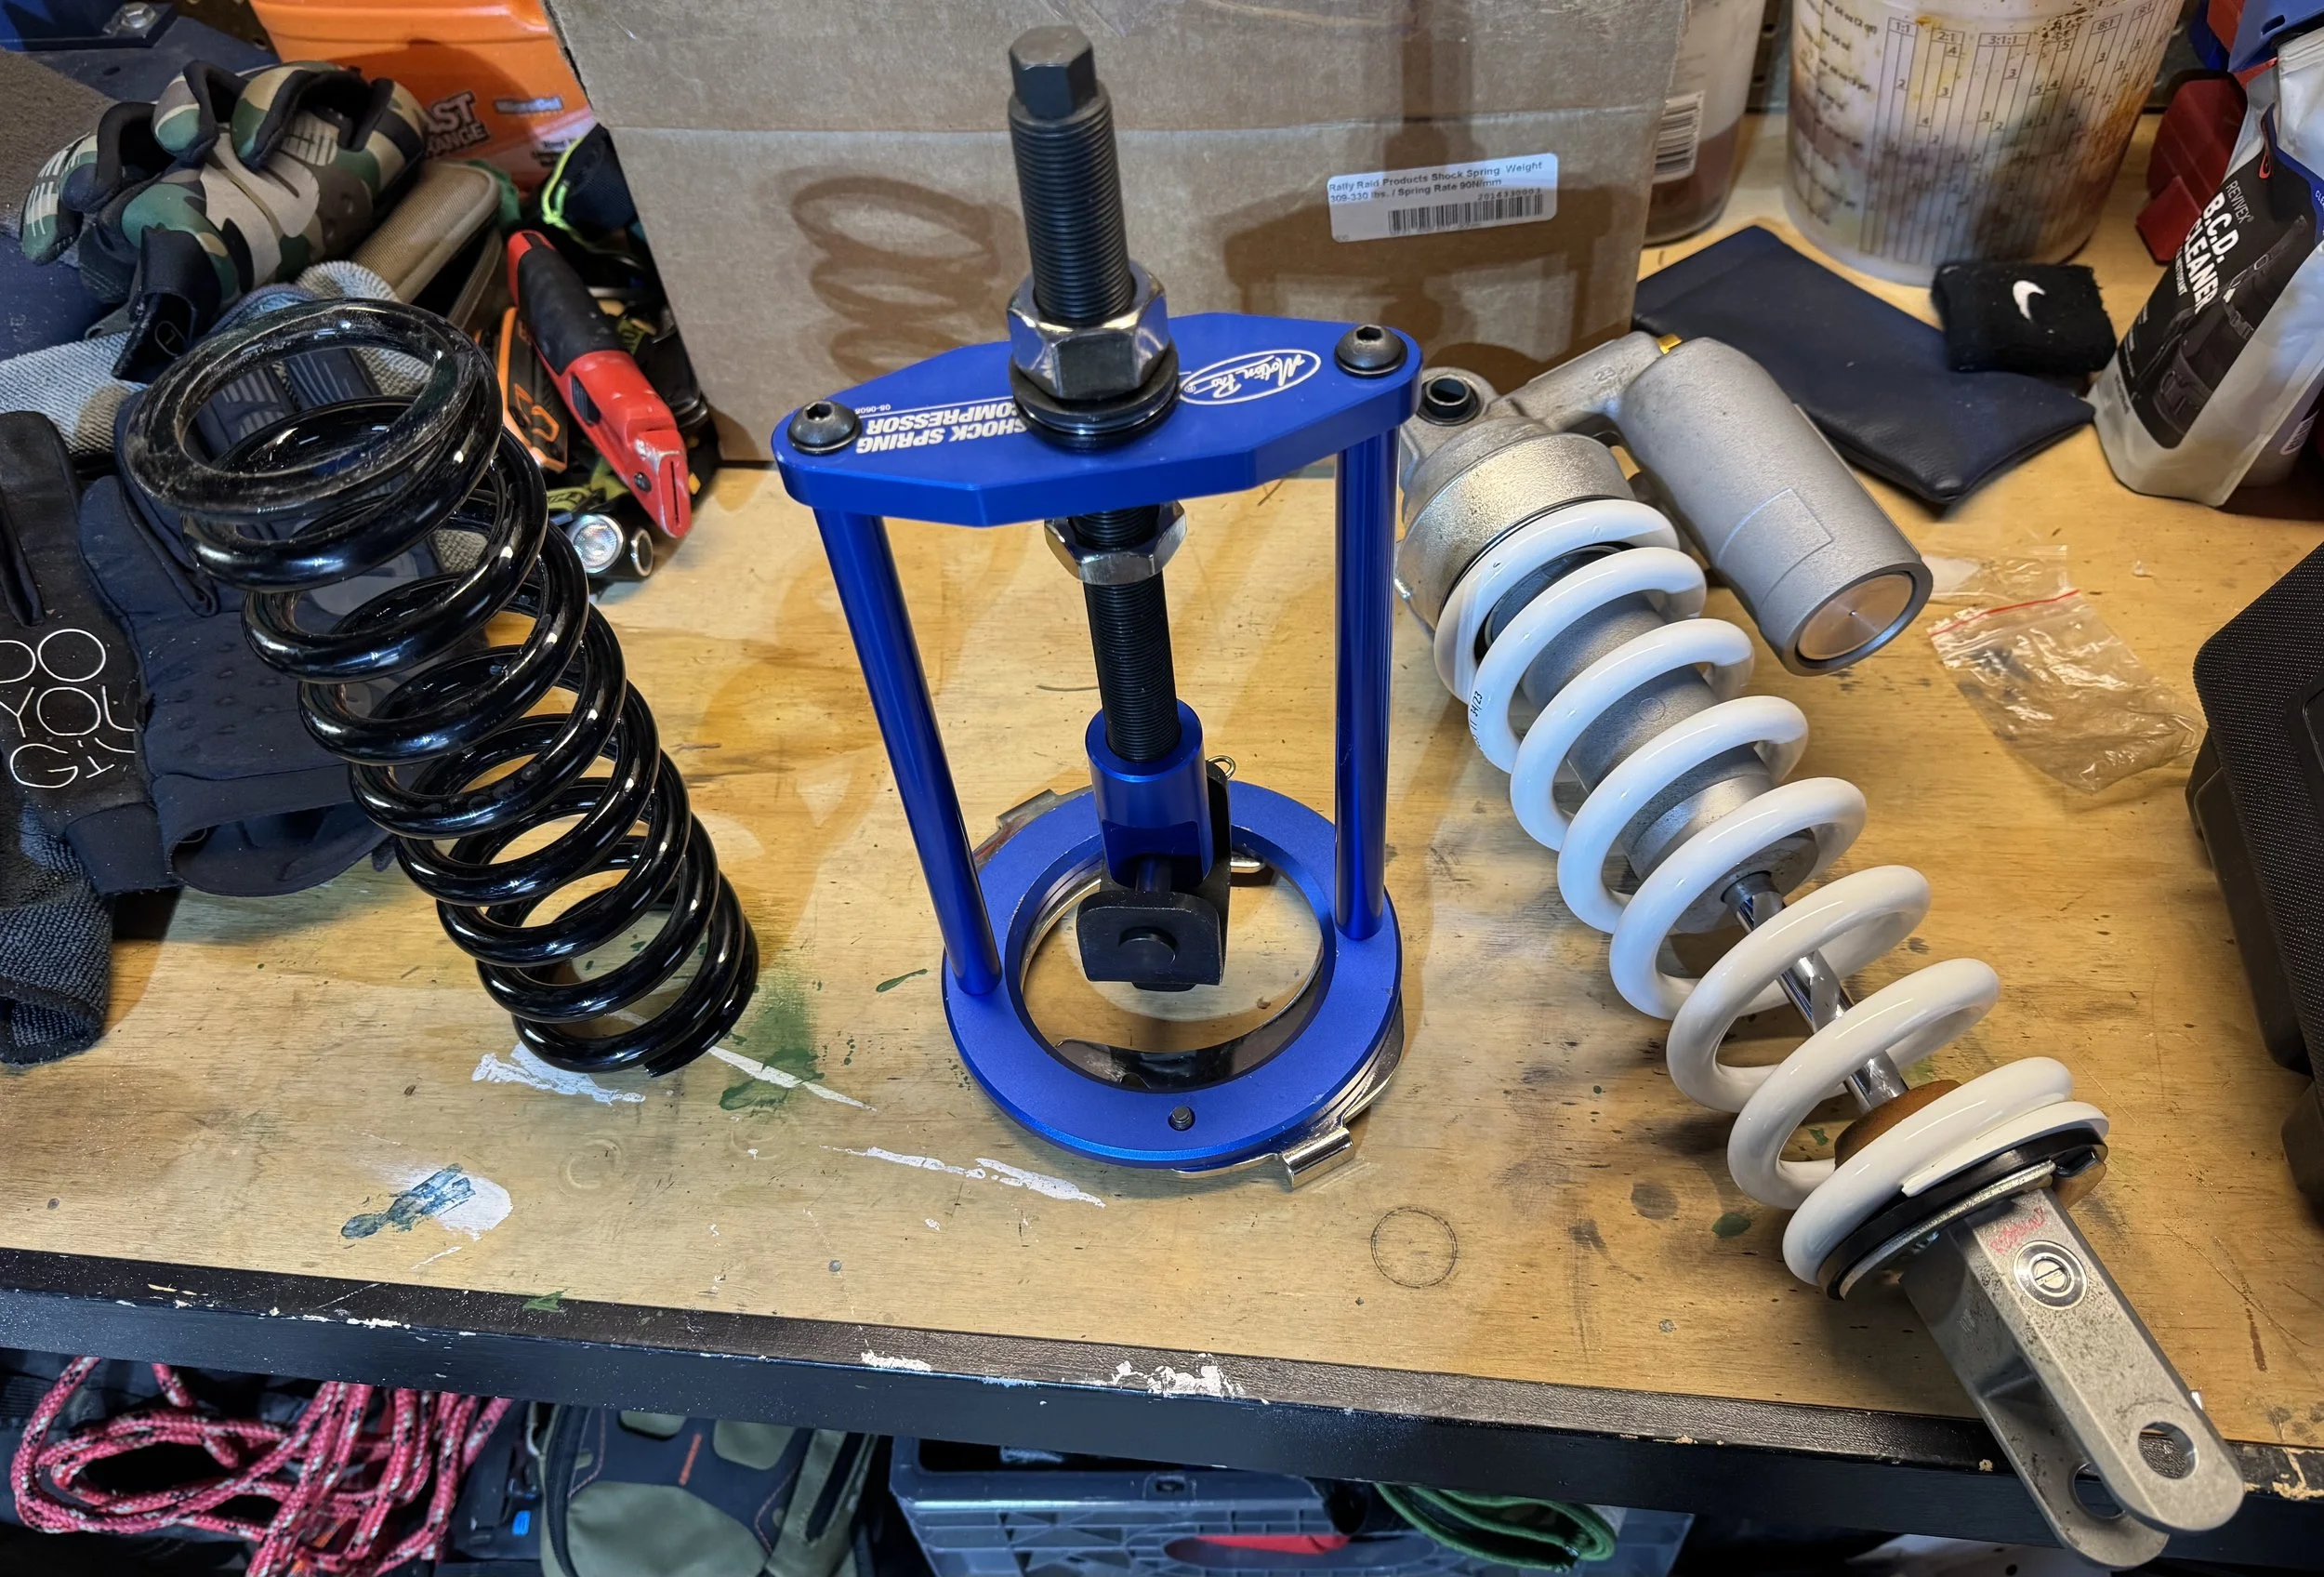
Preload
I intentionally have this later on the list, because preload is not a good introduction into suspension. It’s like explaining what fillers and binders are to a non cigar enthusiast. It’s better to start with; this is how you cut, light and smoke a cigar, before you explain the construction.
Most of the time, you adjust or set the preload when you upgrade springs or set sag. I will touch on sag a little later.
The preload adjustment essentially compresses the spring on the shock to get it into its optimal state.
On the front, you normally set preload via internal shims or a nut adjustment.
The front doesn’t need much adjustment once set, because that area does not change much in weight.
The rear shock functions the same, but since this is where you carry most gear, you will want to adjust accordingly.
If you are fully loaded for camping; that’s an extra 30-40 pounds, you need to tighten up/increase the preload. If you’re back at camp, remove your bags and go exploring, soften it up a bit, you don’t need as much preload anymore, you’re 40 pounds lighter.
Sag is basically that suspension sweet spot I mentioned earlier, but adjusted to account for your total weight at the time of riding. That’s why the front preload doesn’t change much and rear does.
A lot of people get caught up with numbers when setting sag. For the type of riding we do with big ADV bikes, I personally don’t think it’s that critical. I recommend to set the front preload per the manufacturer, and for the rear, just make sure you have a couple inches of play at all times.
If your sag is set correctly, you should be able to sit near the front of your bike, give it a few bounces and see the front and rear compress evenly.
Rear sag quick check: balance your bike upright and lift on the rear. If it lifts up a couple of inches, you are good to go.
If you lift and it barely moves, you need to reduce the preload.
If you lift and it raises up more than 2 inches, increase the preload.
It’s easier to adjust the preload if you lift the back while you turn the knob.
Very important note: only make preload adjustments to your bike under riding weight. Meaning; if plan to ride with a fully loaded bike, make the adjustment with the bike fully loaded. The same applies if you plan to ride with nothing on the back.
This is enough information to start figuring out what you need and what you like.
Turn those clickers, crank on those knobs.
bonus tip: If you have a few bucks to spend, do it here. I guarantee it will make you faster.